Getting Started with LispBM
The LispBM source code is available on GitHub, and the LispBM community is available on Discord.
Choose the platform that best suits your needs below. If you're completely new to LispBM, we recommend starting with either VESC Express (easiest, with full IDE support) or the Linux REPL (quick local development).
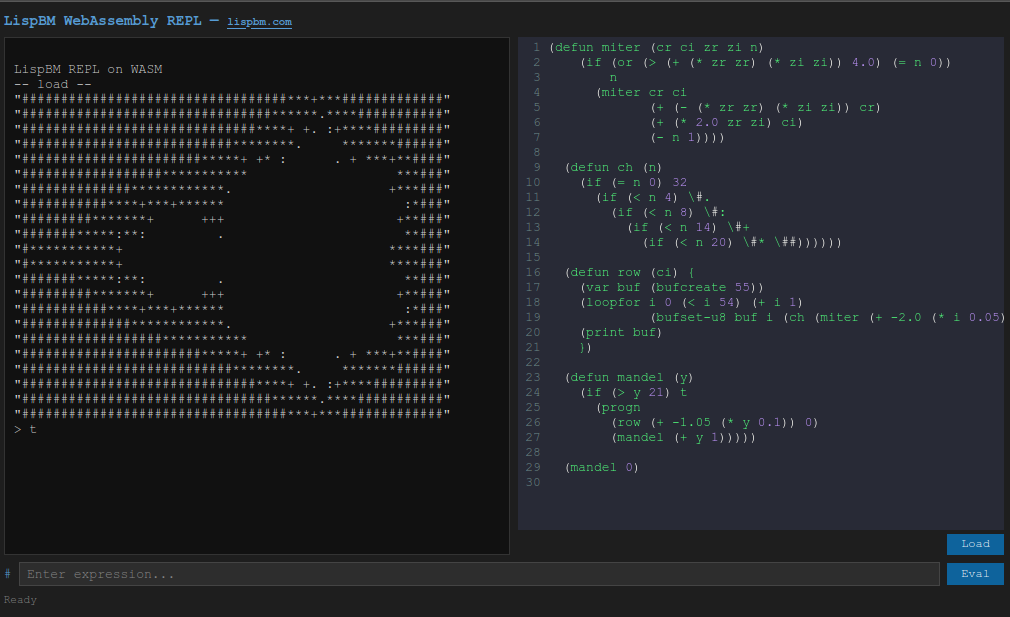
Browser REPL
EasiestBest for: Trying LispBM instantly, no install required
Run LispBM right here in your browser via WebAssembly. No downloads, no setup — just open and start coding.
VESC Express
EasiestBest for: Beginners, motor control projects, quick prototyping
Full IDE support with VESC Tool, built-in CAN, WiFi, BLE, GPIO, and display drivers.
Linux REPL
EasyBest for: Local development, learning LispBM, testing code
Quick setup for experimenting with LispBM on your development machine.
ESP32C3
EasyBest for: FreeRTOS projects, IoT applications, ESP32 development
Precompiled binaries available for quick testing on ESP32C3 DevKit.
ESP32C3 + ST7789
EasyBest for: FreeRTOS projects with display output, IoT with UI
LispBM REPL on ESP32C3 with a 240x240 ST7789 display over SPI.
STM32F4
ModerateBest for: ChibiOS projects, STM32 development, custom embedded systems
Example setup for STM32F407G Discovery board with ChibiOS.
STM32F4 + I2S
ModerateBest for: Audio applications, signal processing, sound generation
LispBM for audio generation on STM32F4 with I2S support.
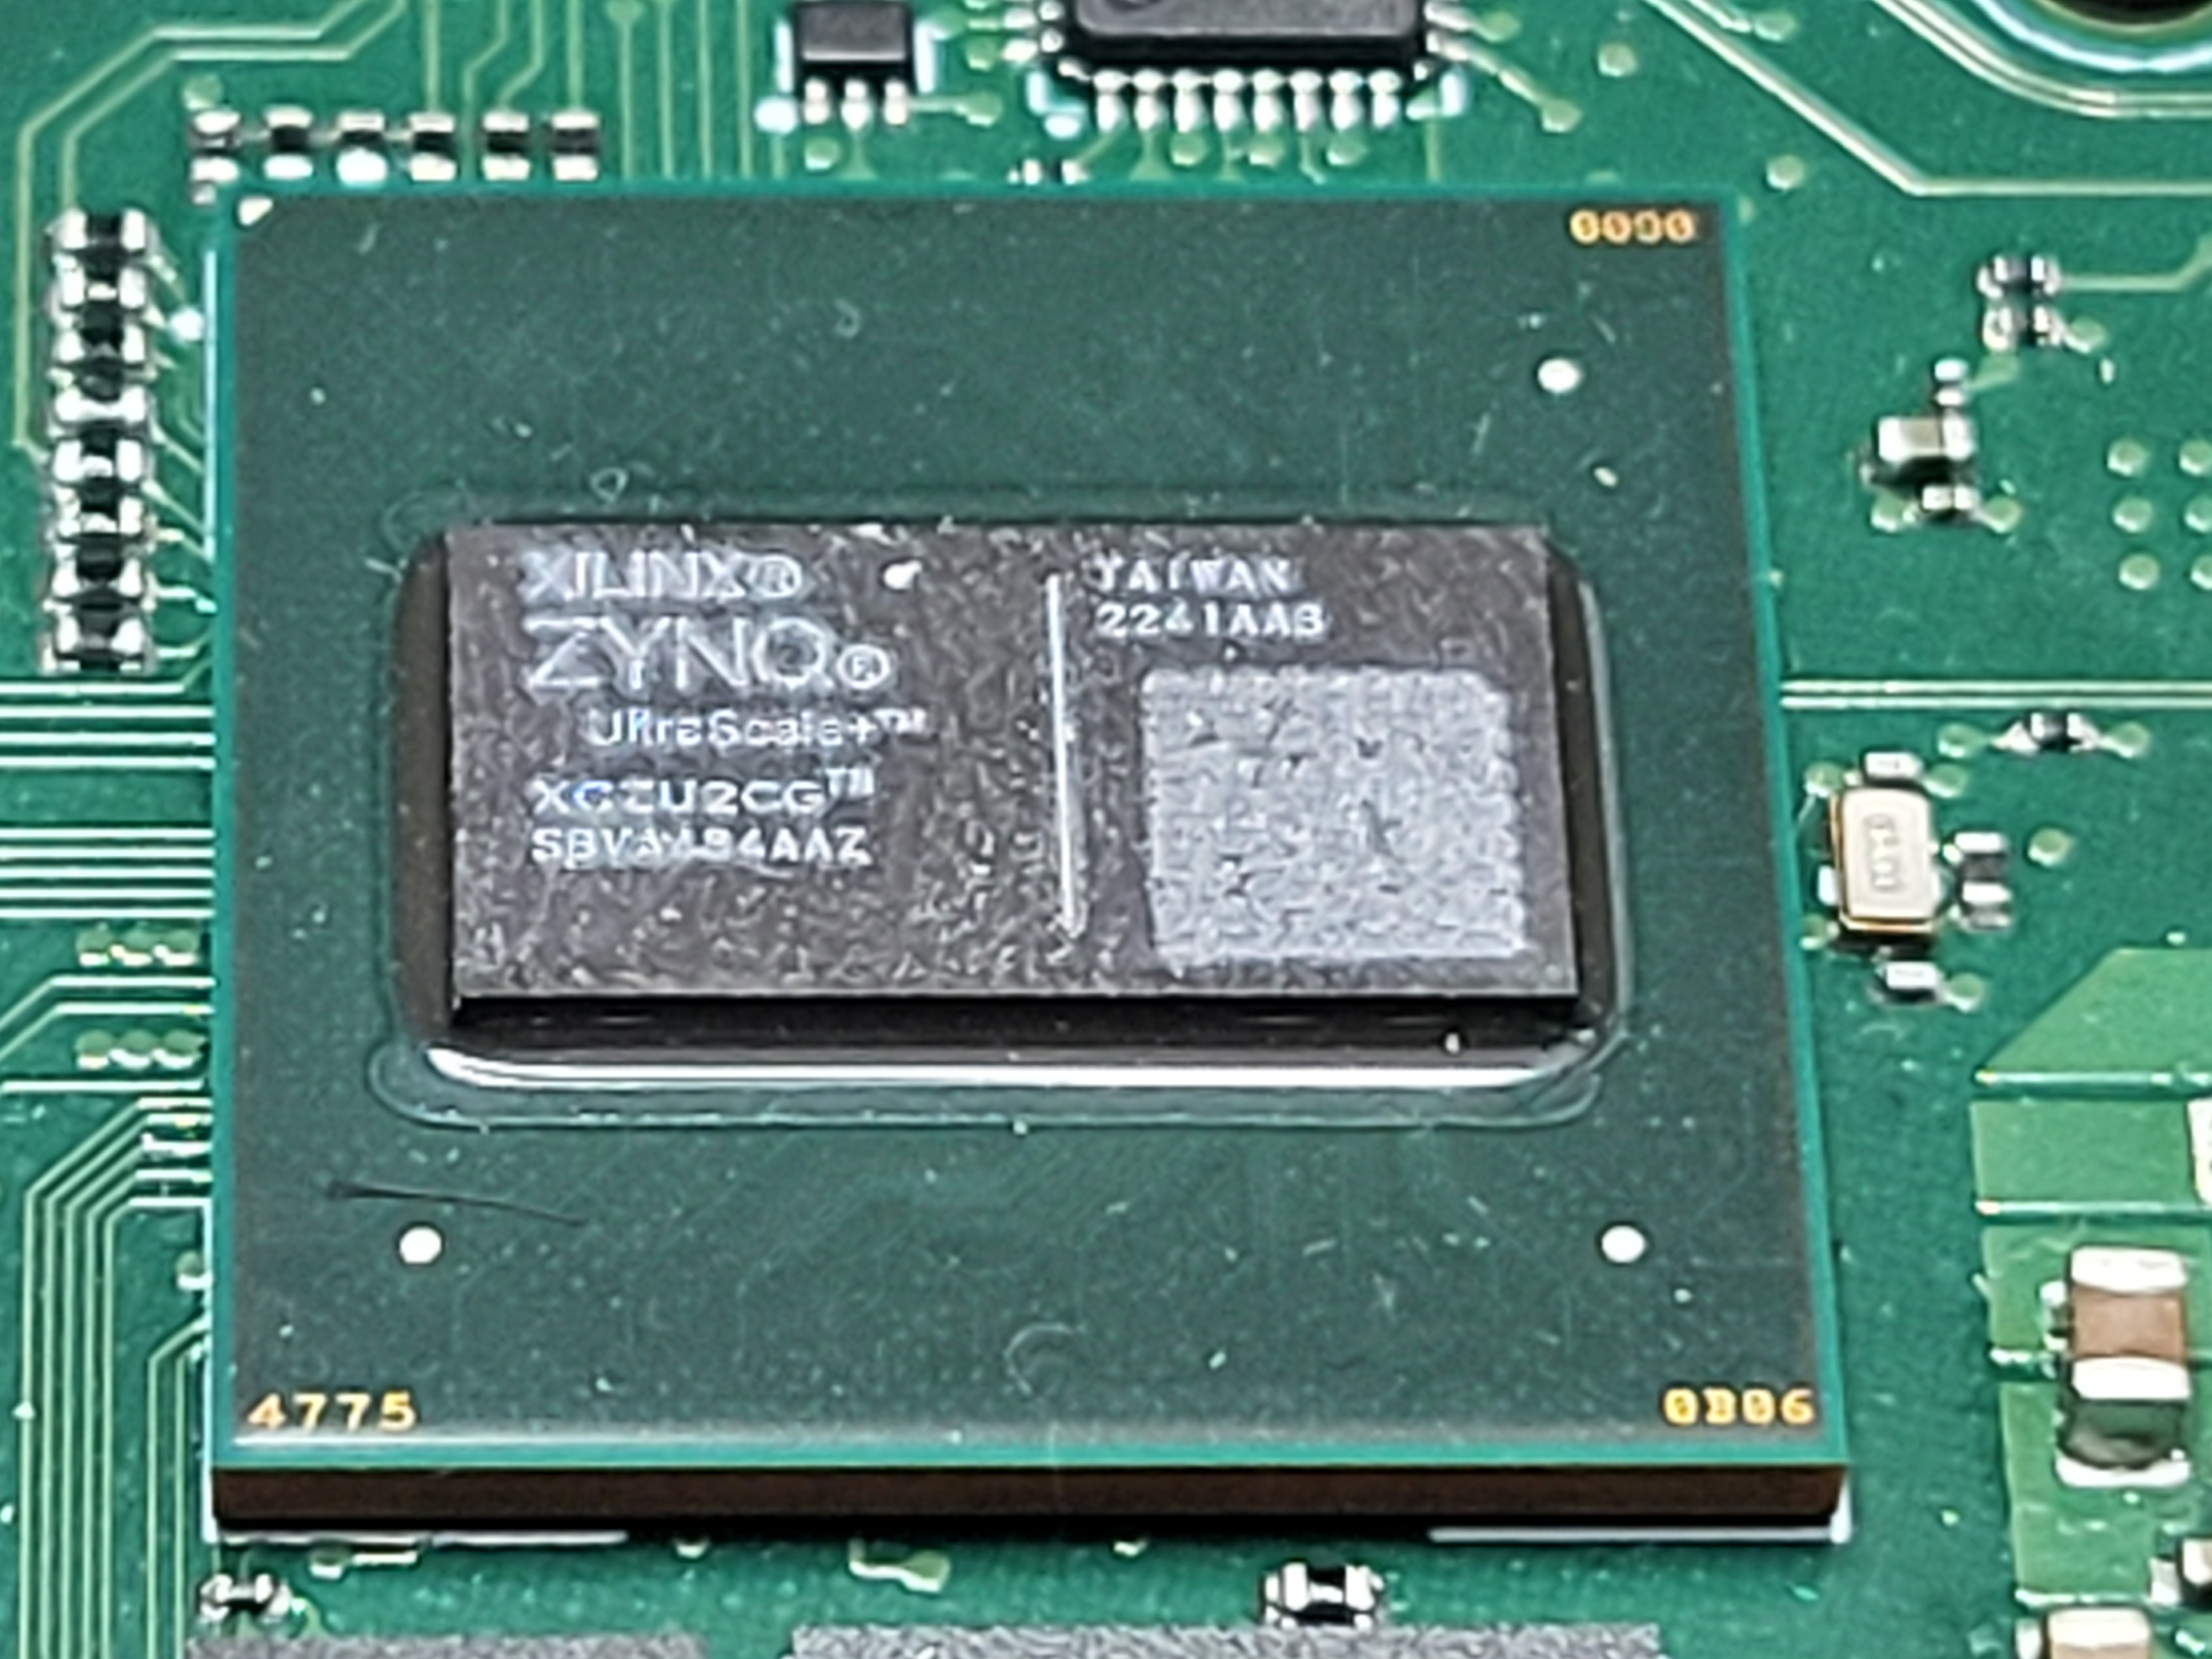
Zynq 7000
ModerateBest for: FPGA projects, Xilinx/AMD Zynq 7000 platforms
FreeRTOS-based setup for Zynq 7000 A9 32-bit processors using Vitis.
Zynq UltraScale+
ModerateBest for: FPGA projects, Xilinx/AMD Zynq platforms, high-performance embedded
FreeRTOS-based setup for Zynq UltraScale+ A53 64-bit processors using Vitis.

Windows
EasyBest for: Windows users, testing without Linux
Precompiled REPL for Windows (built with MinGW, tested with WINE).
Roll Your Own
AdvancedBest for: Custom platforms, bare-metal, ZephyrOS, or unique requirements
Build your own LispBM environment from scratch.
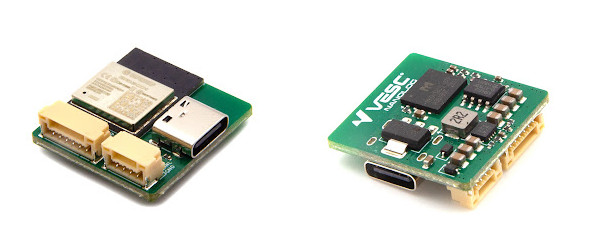
Getting Started on VESC EXPRESS
The easiest way to get started with LispBM programming is to use VESC Tool together with the VESC EXPRESS Firmware on an esp32c3.
VESC-Tool gives you access to a very capable IDE for Lisp programming on embedded systems and the VESC Express firmware provides built-in functionality to interface with CAN, WiFi, BLE and UART as well as GPIO and display drivers.
Keep an eye on the VESC Labs website for devices that come with LispBM per default.
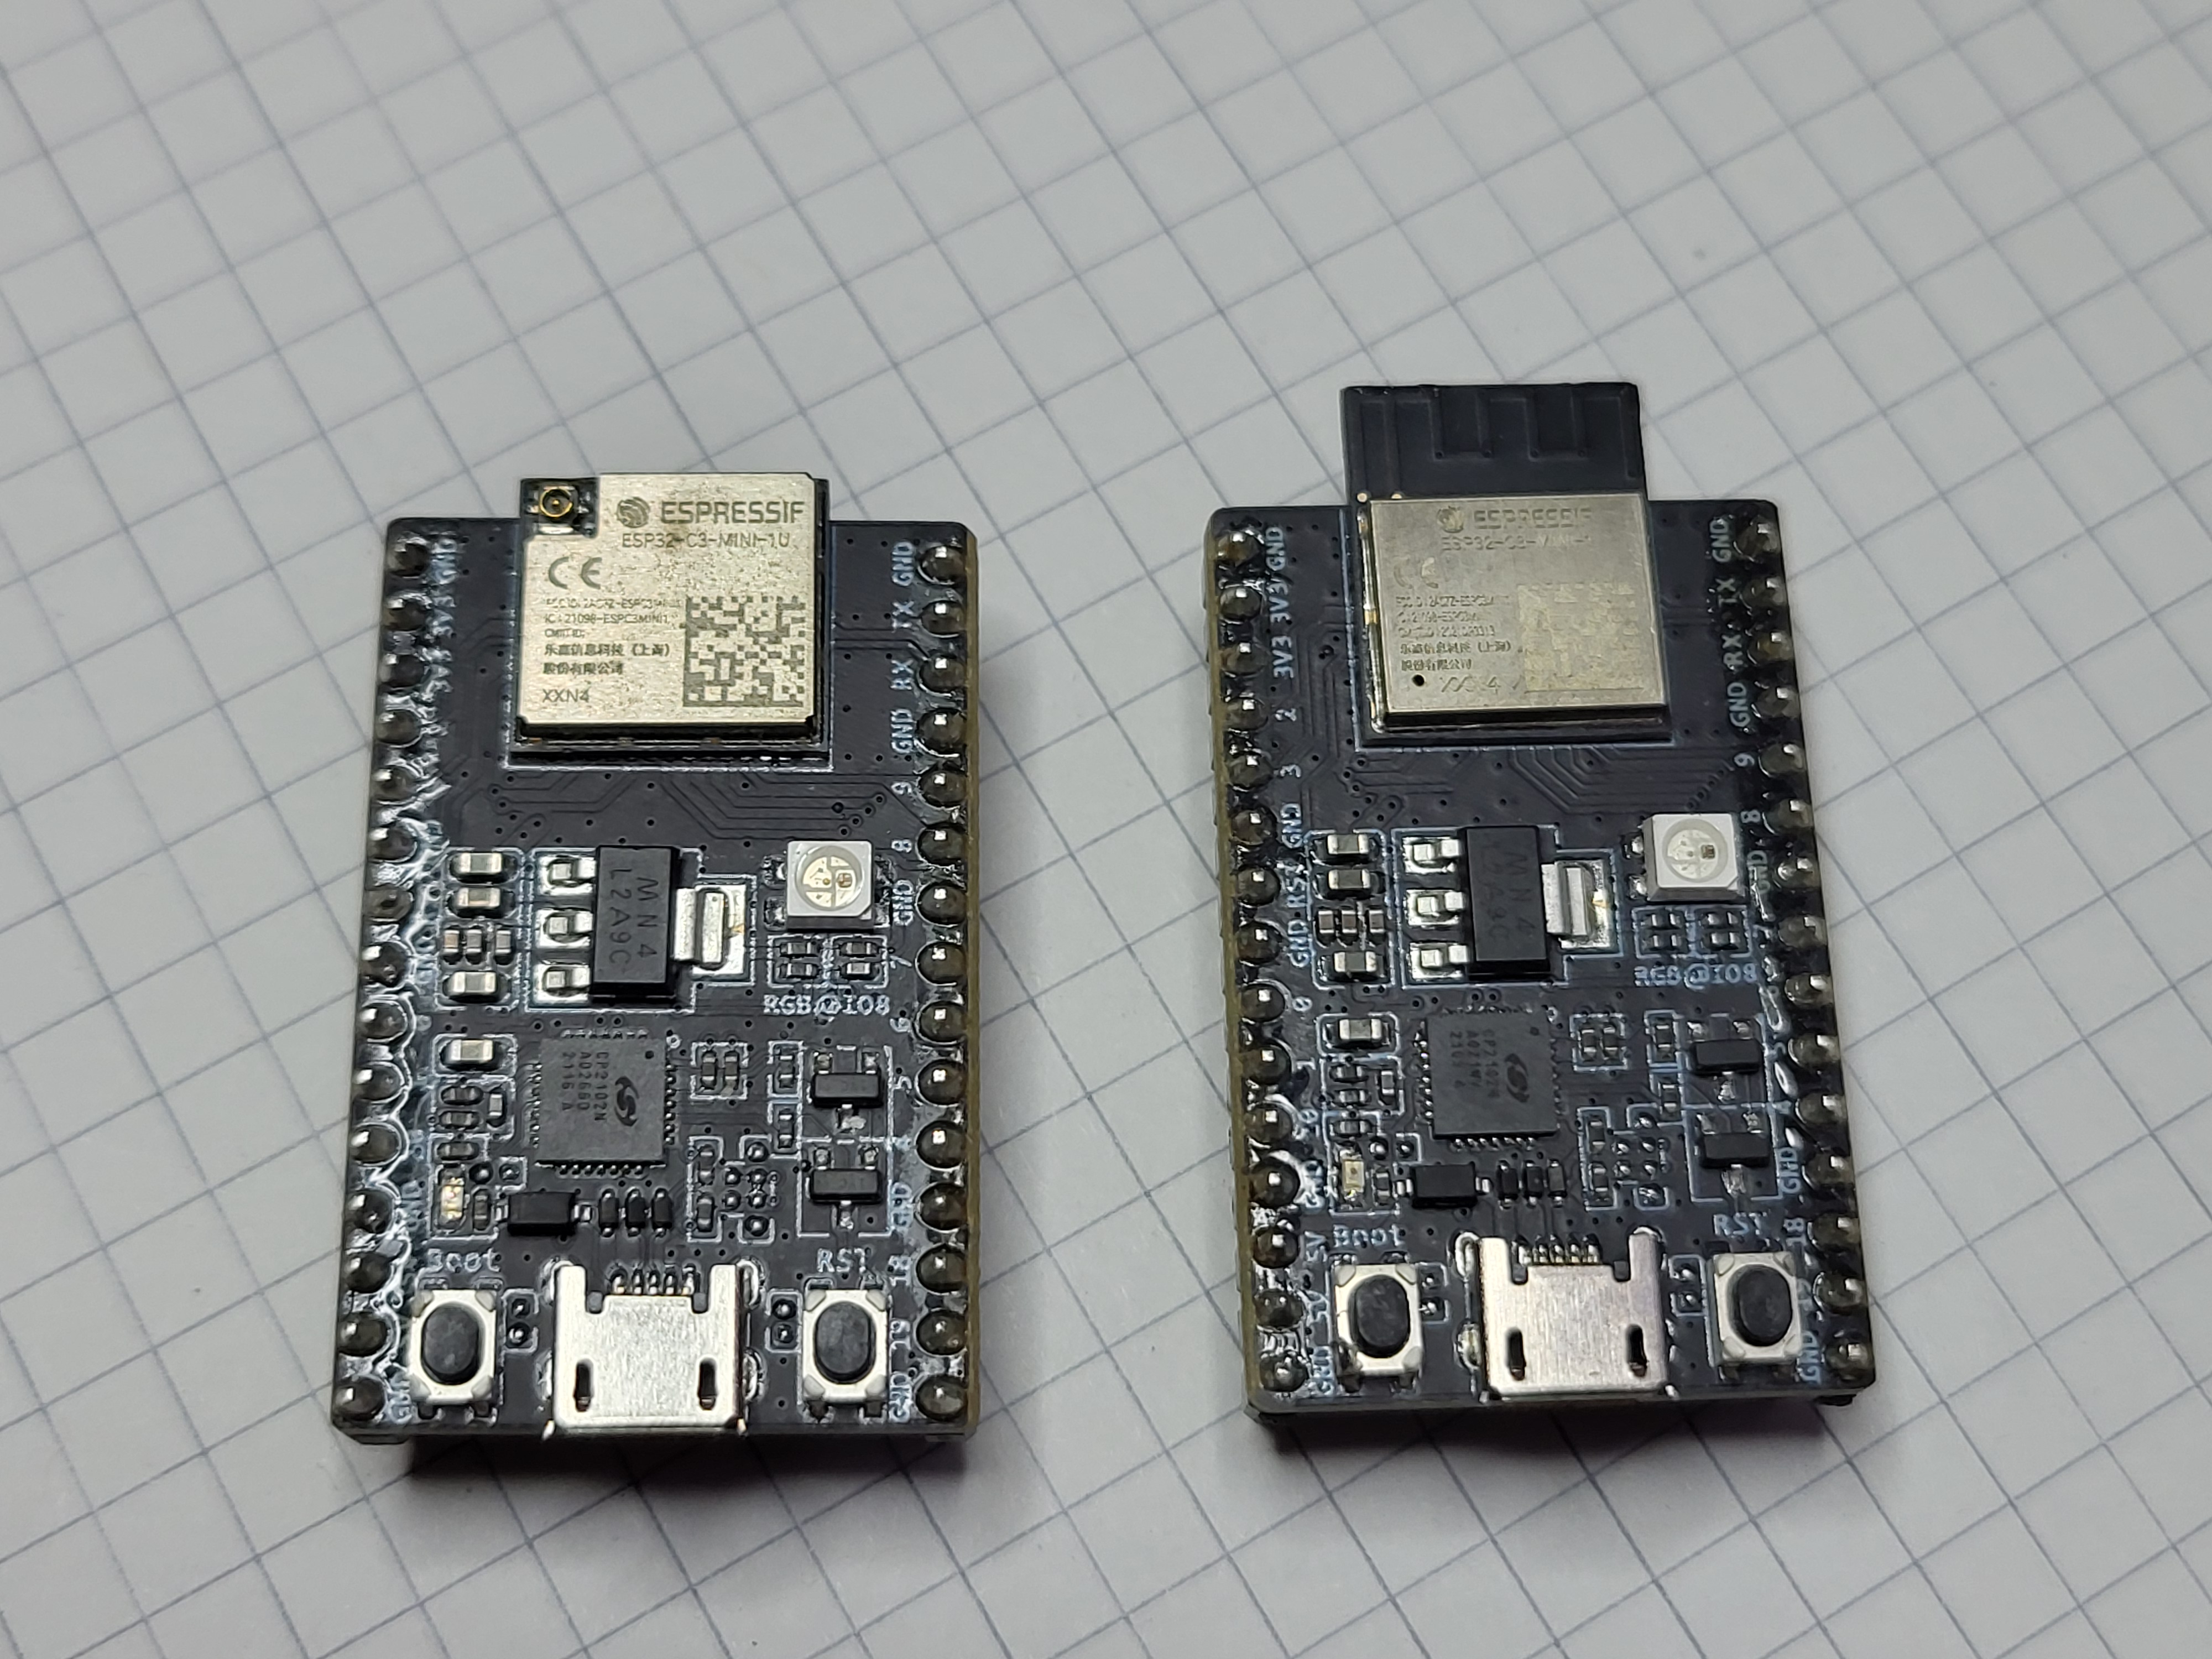
Getting Started on ESP32C3
In the directory 'examples/esp32c3' there is an example setup targeting the esp32c3-devkitm-mini1 (available on Mouser or Digikey) and FreeRTOS.
This is a suitable starting point for integrating LispBM scripting into your own FreeRTOS based projects.
Precompiled Binaries
For quick testing, precompiled binaries are available: esp32c3-repl.zip
The precompiled binaries can be flashed onto the development kit with the following command:
esptool.py --chip esp32c3 --port /dev/ttyUSB0 --baud 460800 write-flash \
    0x0 bootloader.bin \
    0x8000 partition-table.bin \
    0x10000 repl.bin
Building and Flashing
To build and flash the ESP32C3 example, follow these steps:
First, process the flash partition table:
idf.py partition-table
Then build the project:
idf.py build
Flash the firmware to your ESP32C3:
idf.py flash
Finally, connect to the development kit using a serial terminal (such as minicom) or run:
idf.py monitor
You can now interact with a simple REPL on your ESP32C3.
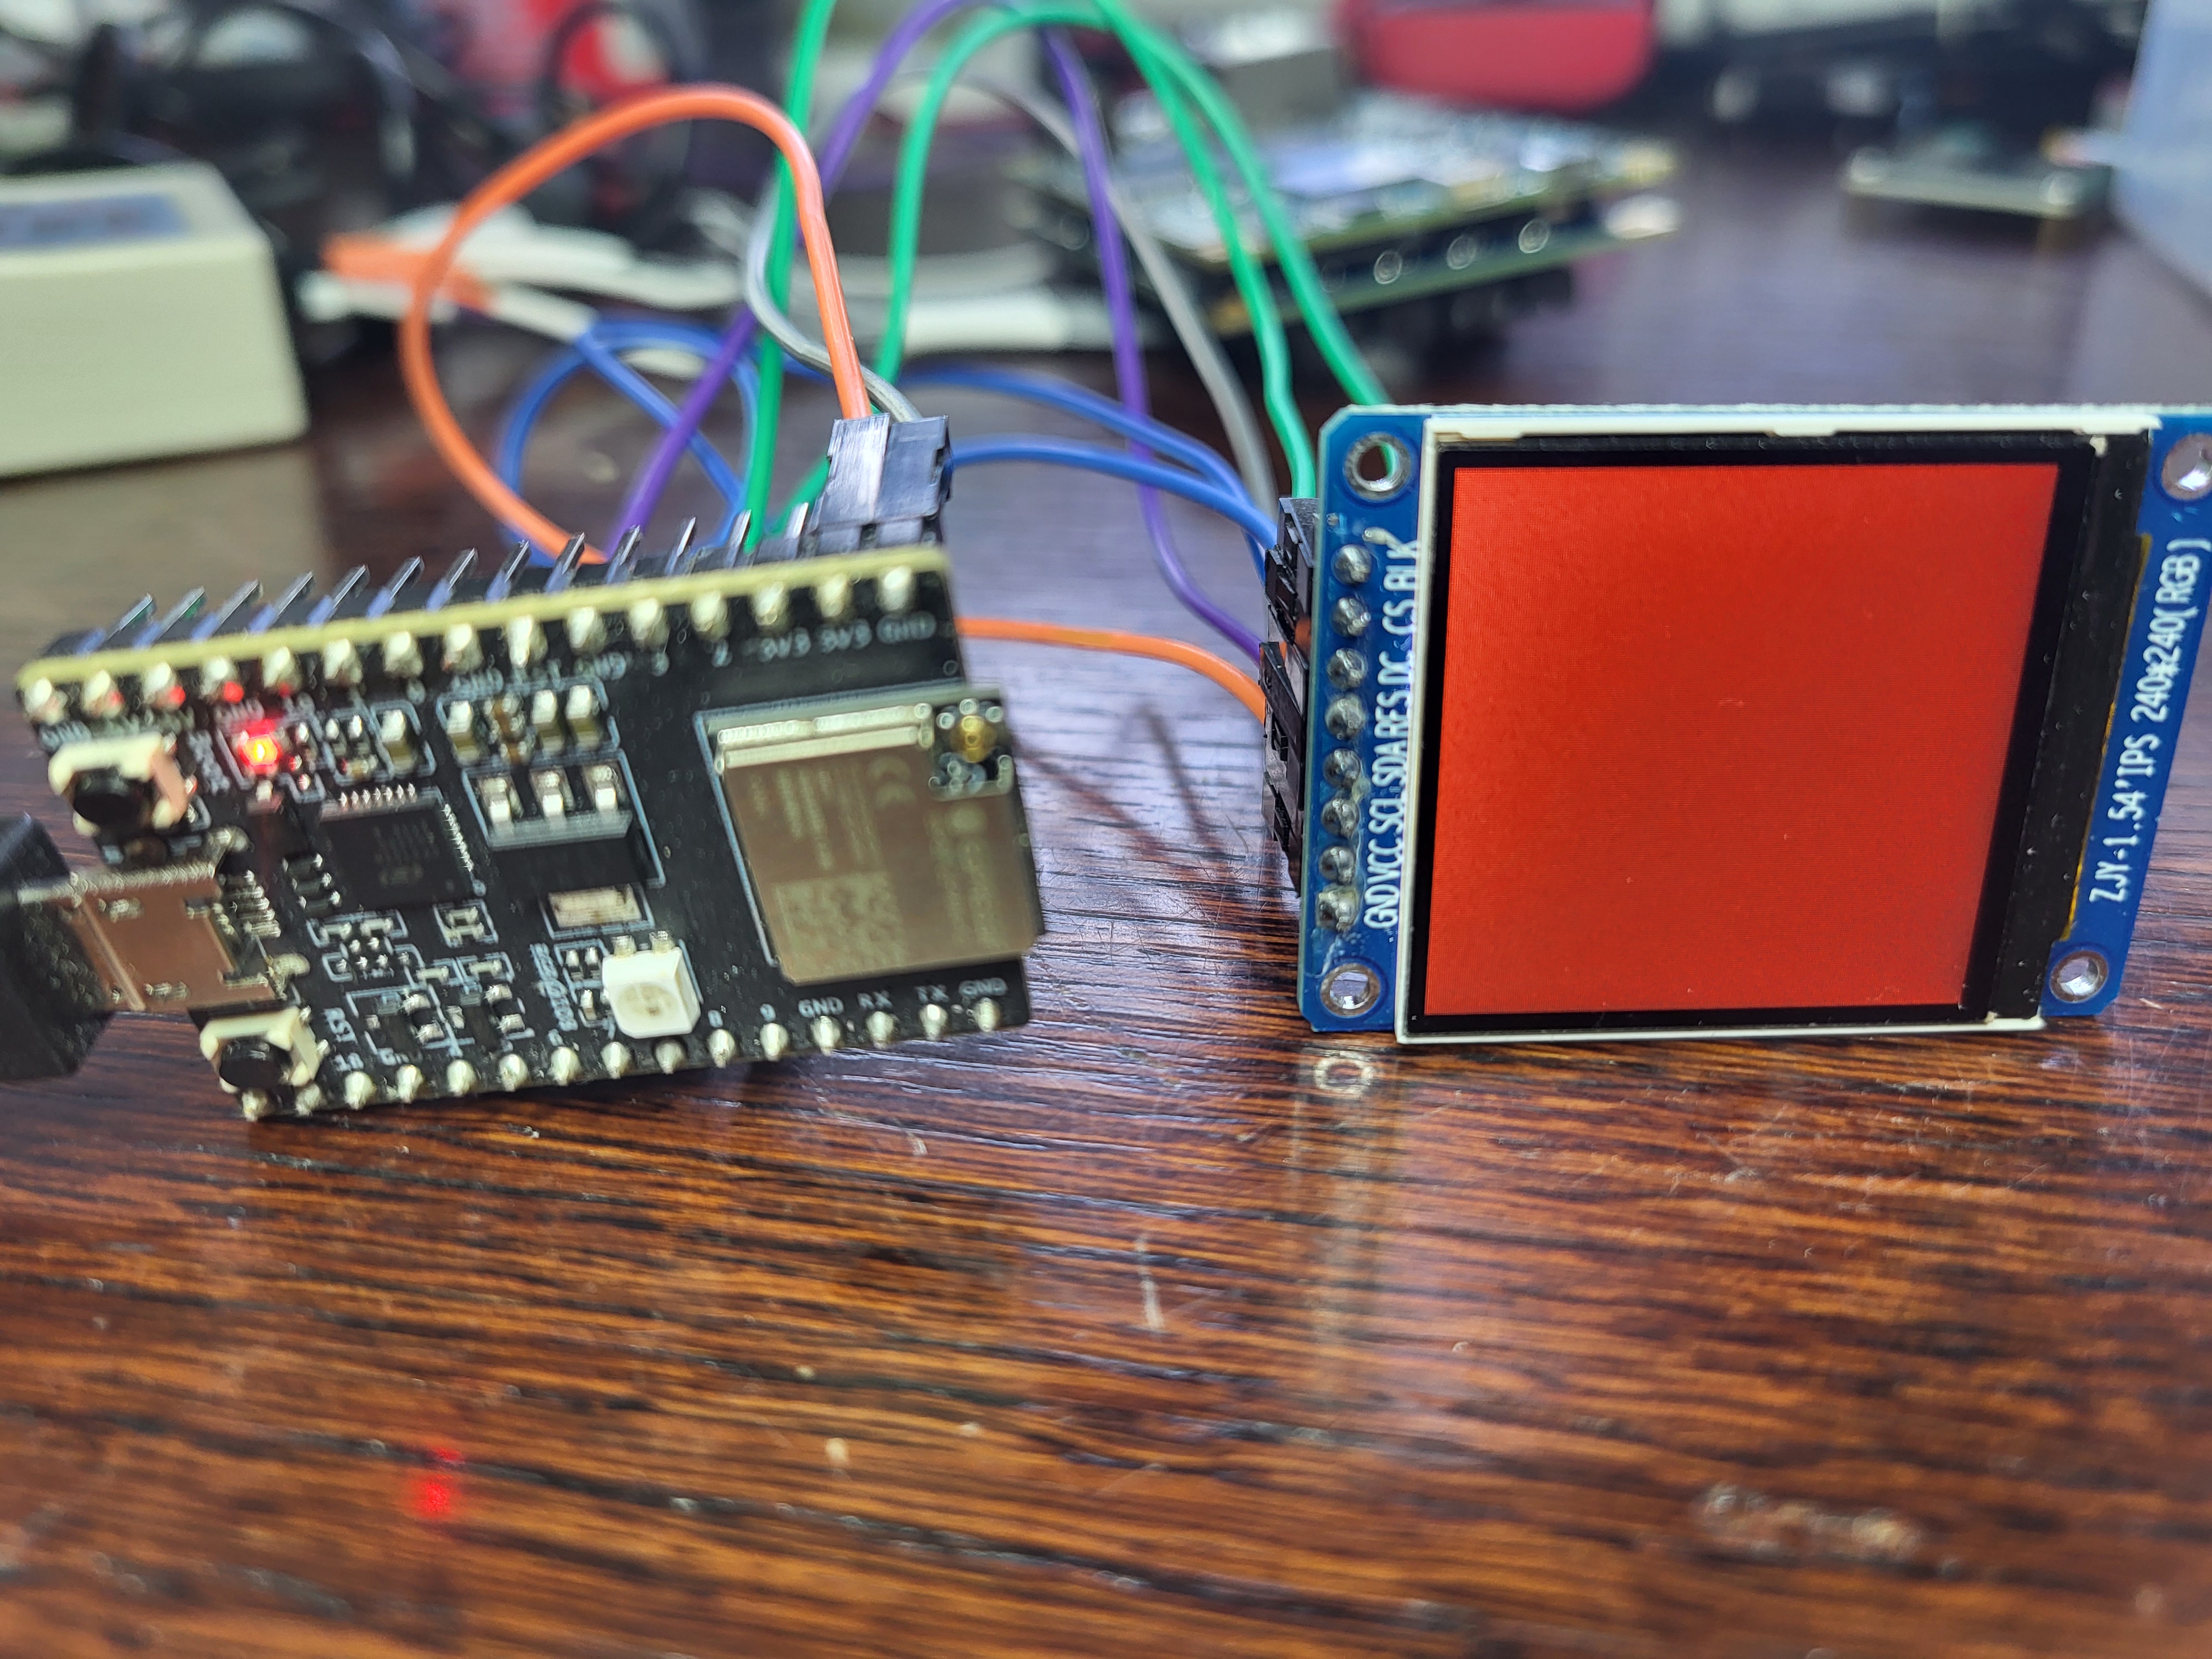
Getting Started on ESP32C3 + ST7789
In the directory examples/esp32c3-st7789 there is an example setup
targeting the esp32c3-devkitm-mini1 and FreeRTOS with a 240x240 ST7789 display connected over SPI.
The display driver is borrowed and updated from the VESC Express codebase. The disp-load-st7789 function takes extra arguments specifying display resolution. Developed using ESP-IDF v5.5.3.
Building and Flashing
Process the flash partition table:
idf.py partition-table
Build the project:
idf.py build
Flash the firmware to your ESP32C3:
idf.py flash
Connect to the board using a serial terminal or run:
idf.py monitor
For a more pleasant REPL experience (with line editing), disable character echoing in main.c and use:
rlwrap picocom /dev/ttyUSB0 -b 115200
Exit with CTRL-a then CTRL-x.
Display Usage
Once connected, you can initialize and use the display from the REPL:
(disp-load-st7789 6 4 7 8 5 40 240 240)
(disp-reset)
(disp-clear 0xff0000)
The arguments to disp-load-st7789 specify the SPI pin assignments, display offsets, and resolution (240x240).
Full details and prerequisites are in the README.md in the examples/esp32c3-st7789 directory.
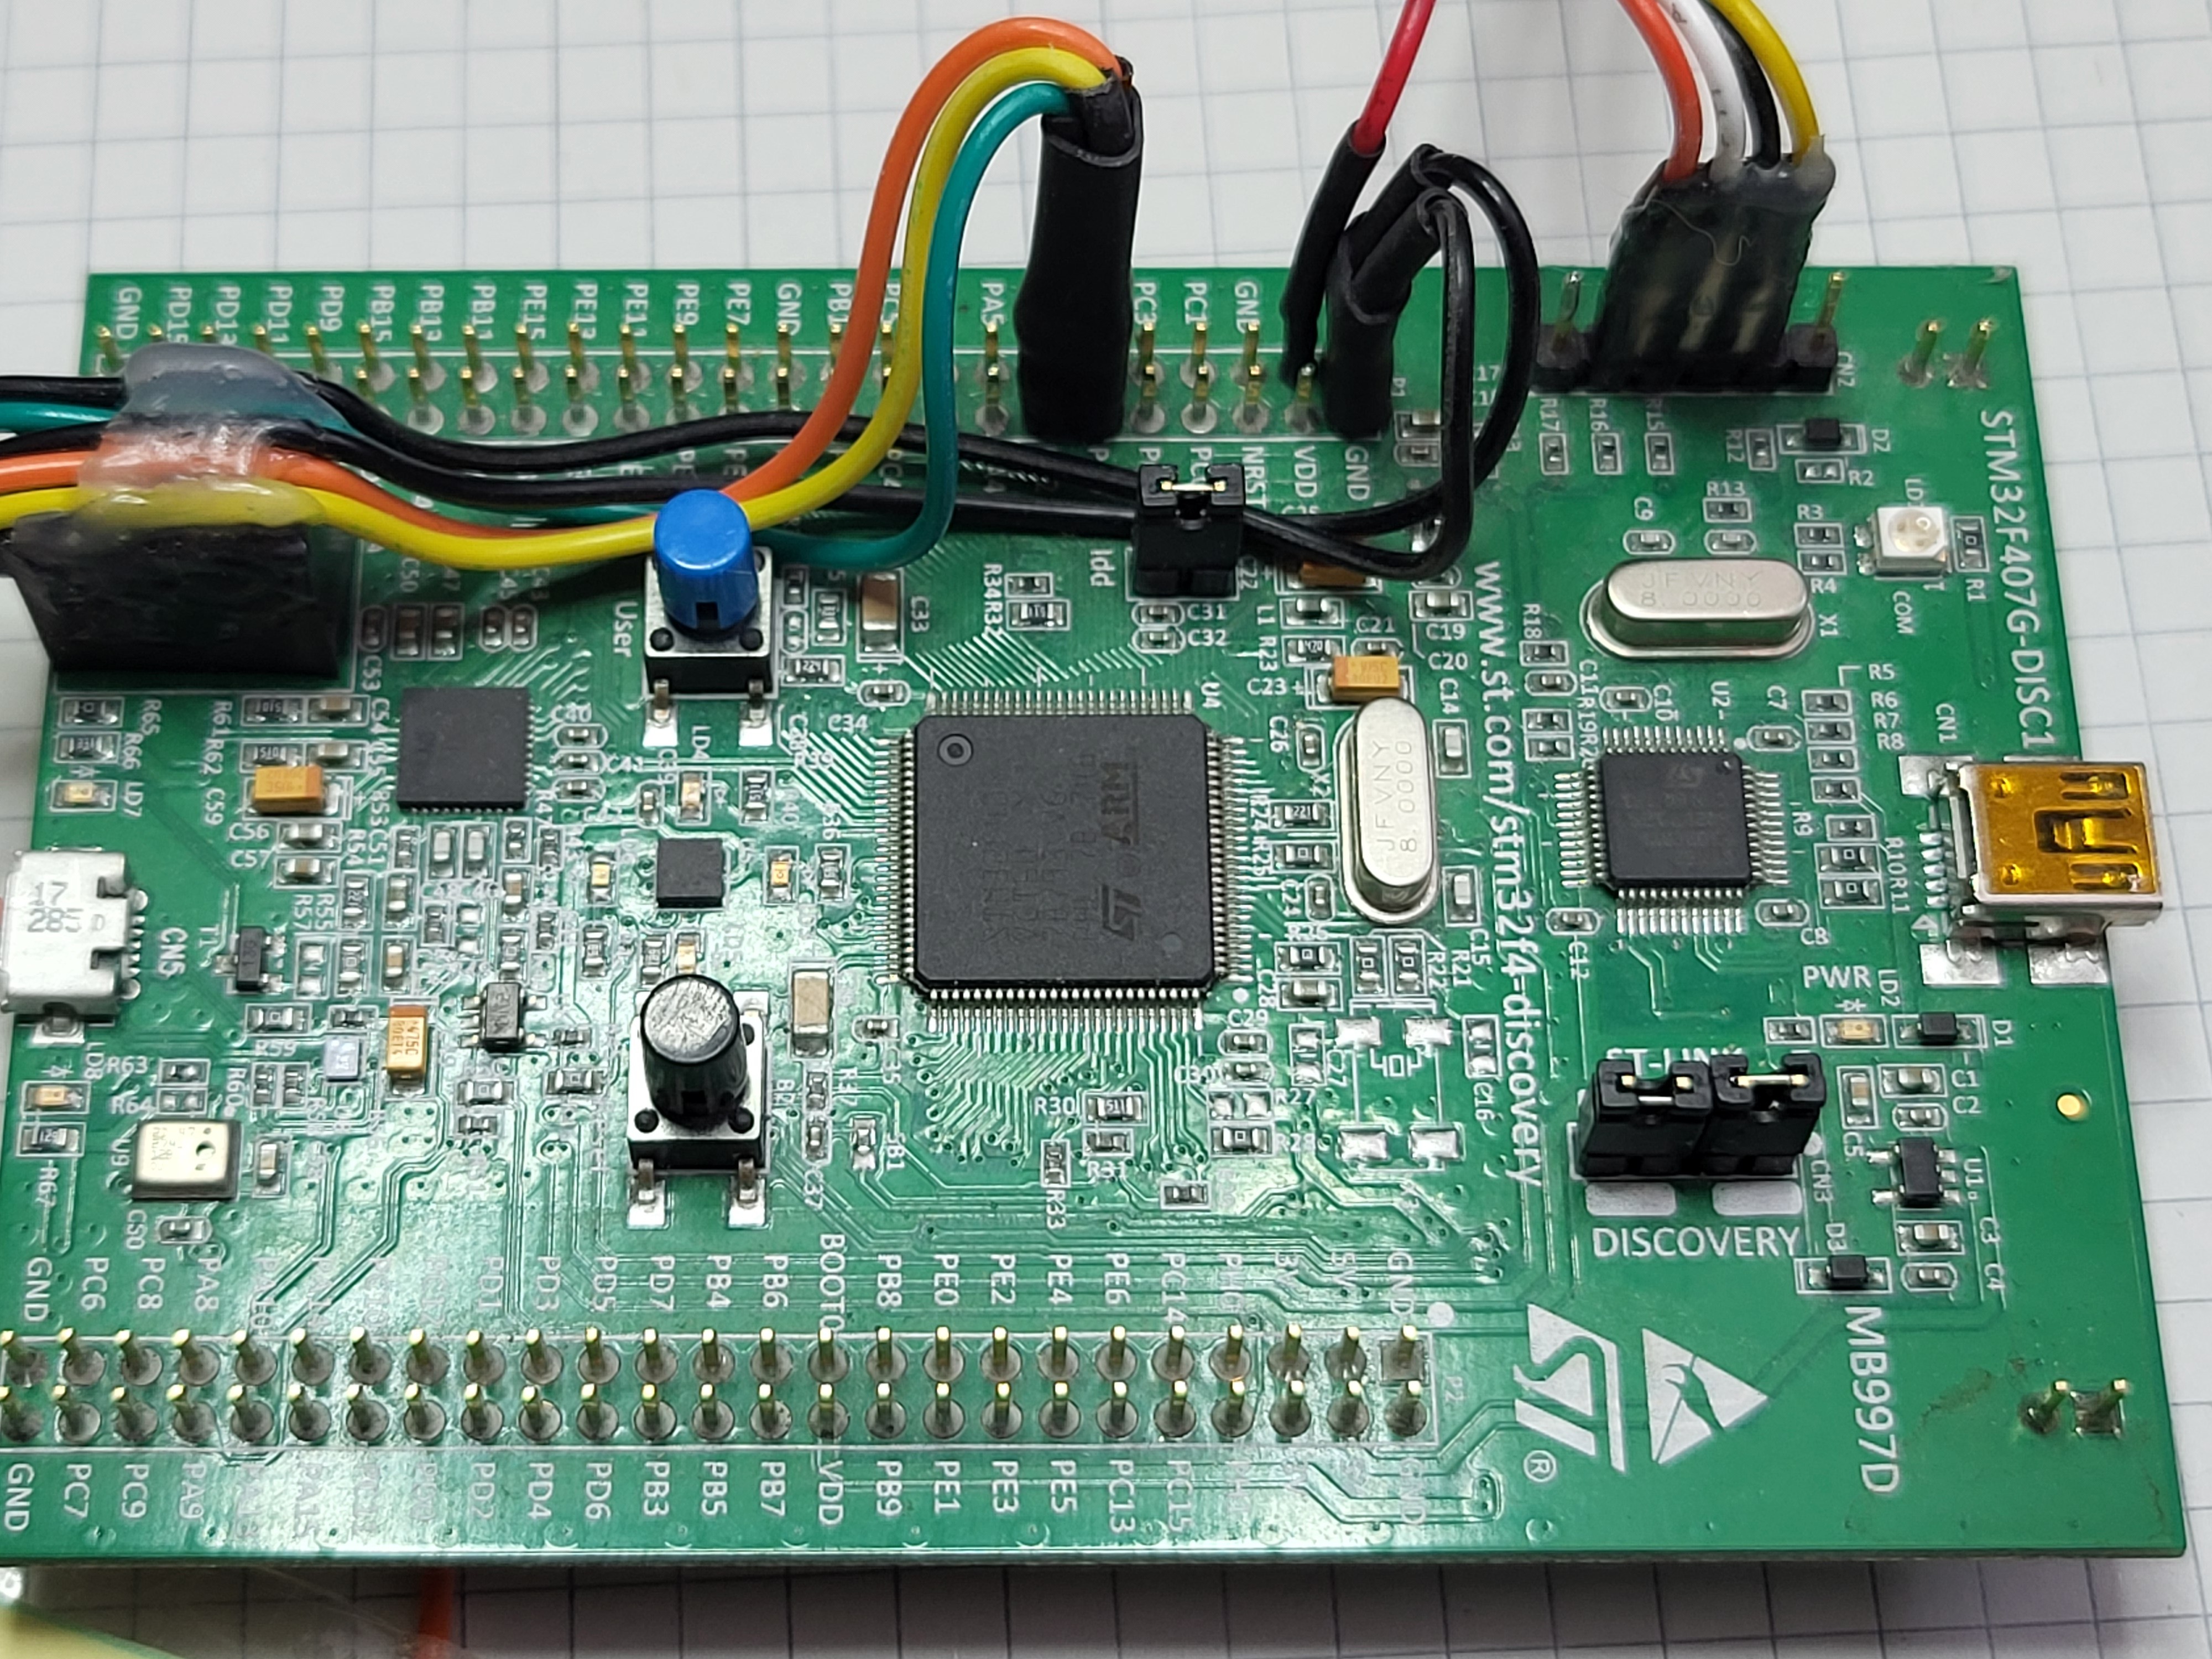
Getting Started on STM32F4
In the directory examples/stm32f4-discovery there is an example setup
targeting the stm32f407G-disc1 (available on Mouser) and ChibiOS.
This is a suitable starting point for integrating LispBM scripting into your own ChibiOS based projects.
Prerequisites and building instructions are available in the README.md file in the examples/stm32f4-discovery directory.
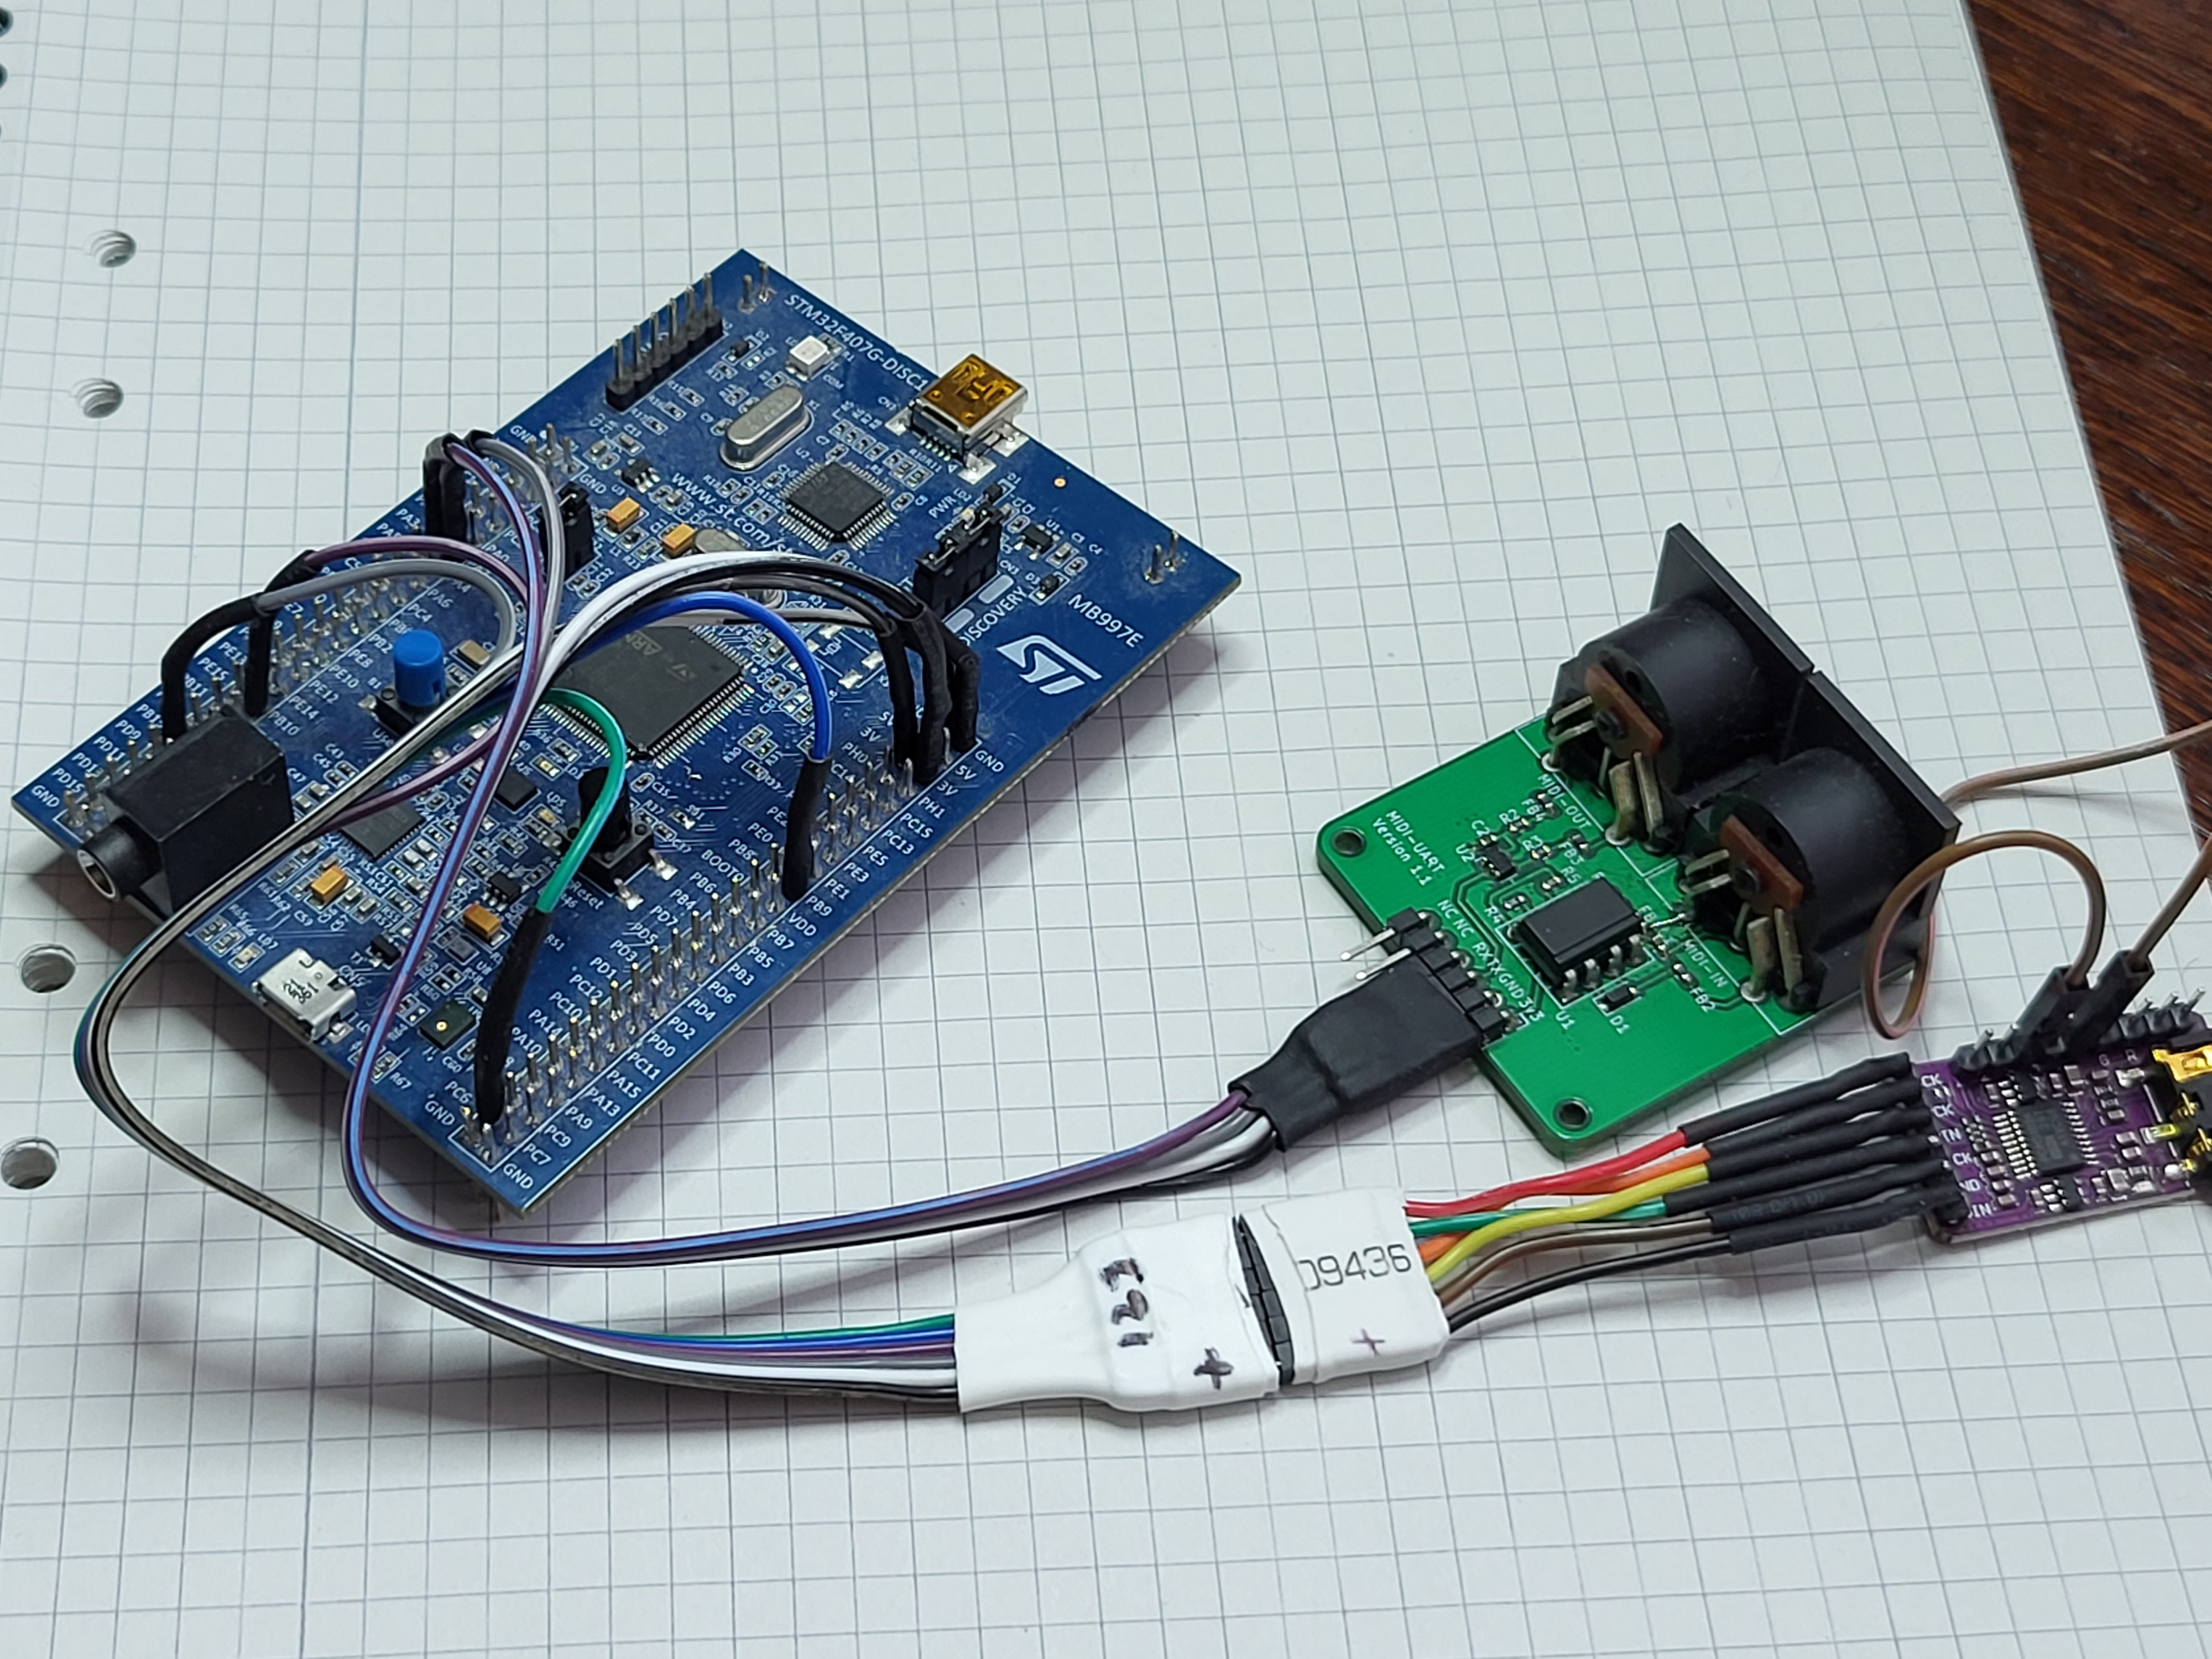
Getting Started on STM32F4 + I2S
In the directory examples/stm32f4-discovery-i2s there is an example setup
targeting the stm32f407G-disc1 (available on Mouser) and ChibiOS.
This is a suitable starting point for integrating LispBM scripting for audio generation on your own ChibiOS based projects.
Prerequisites and building instructions are available in the README.md file in the examples/stm32f4-discovery-i2s directory.
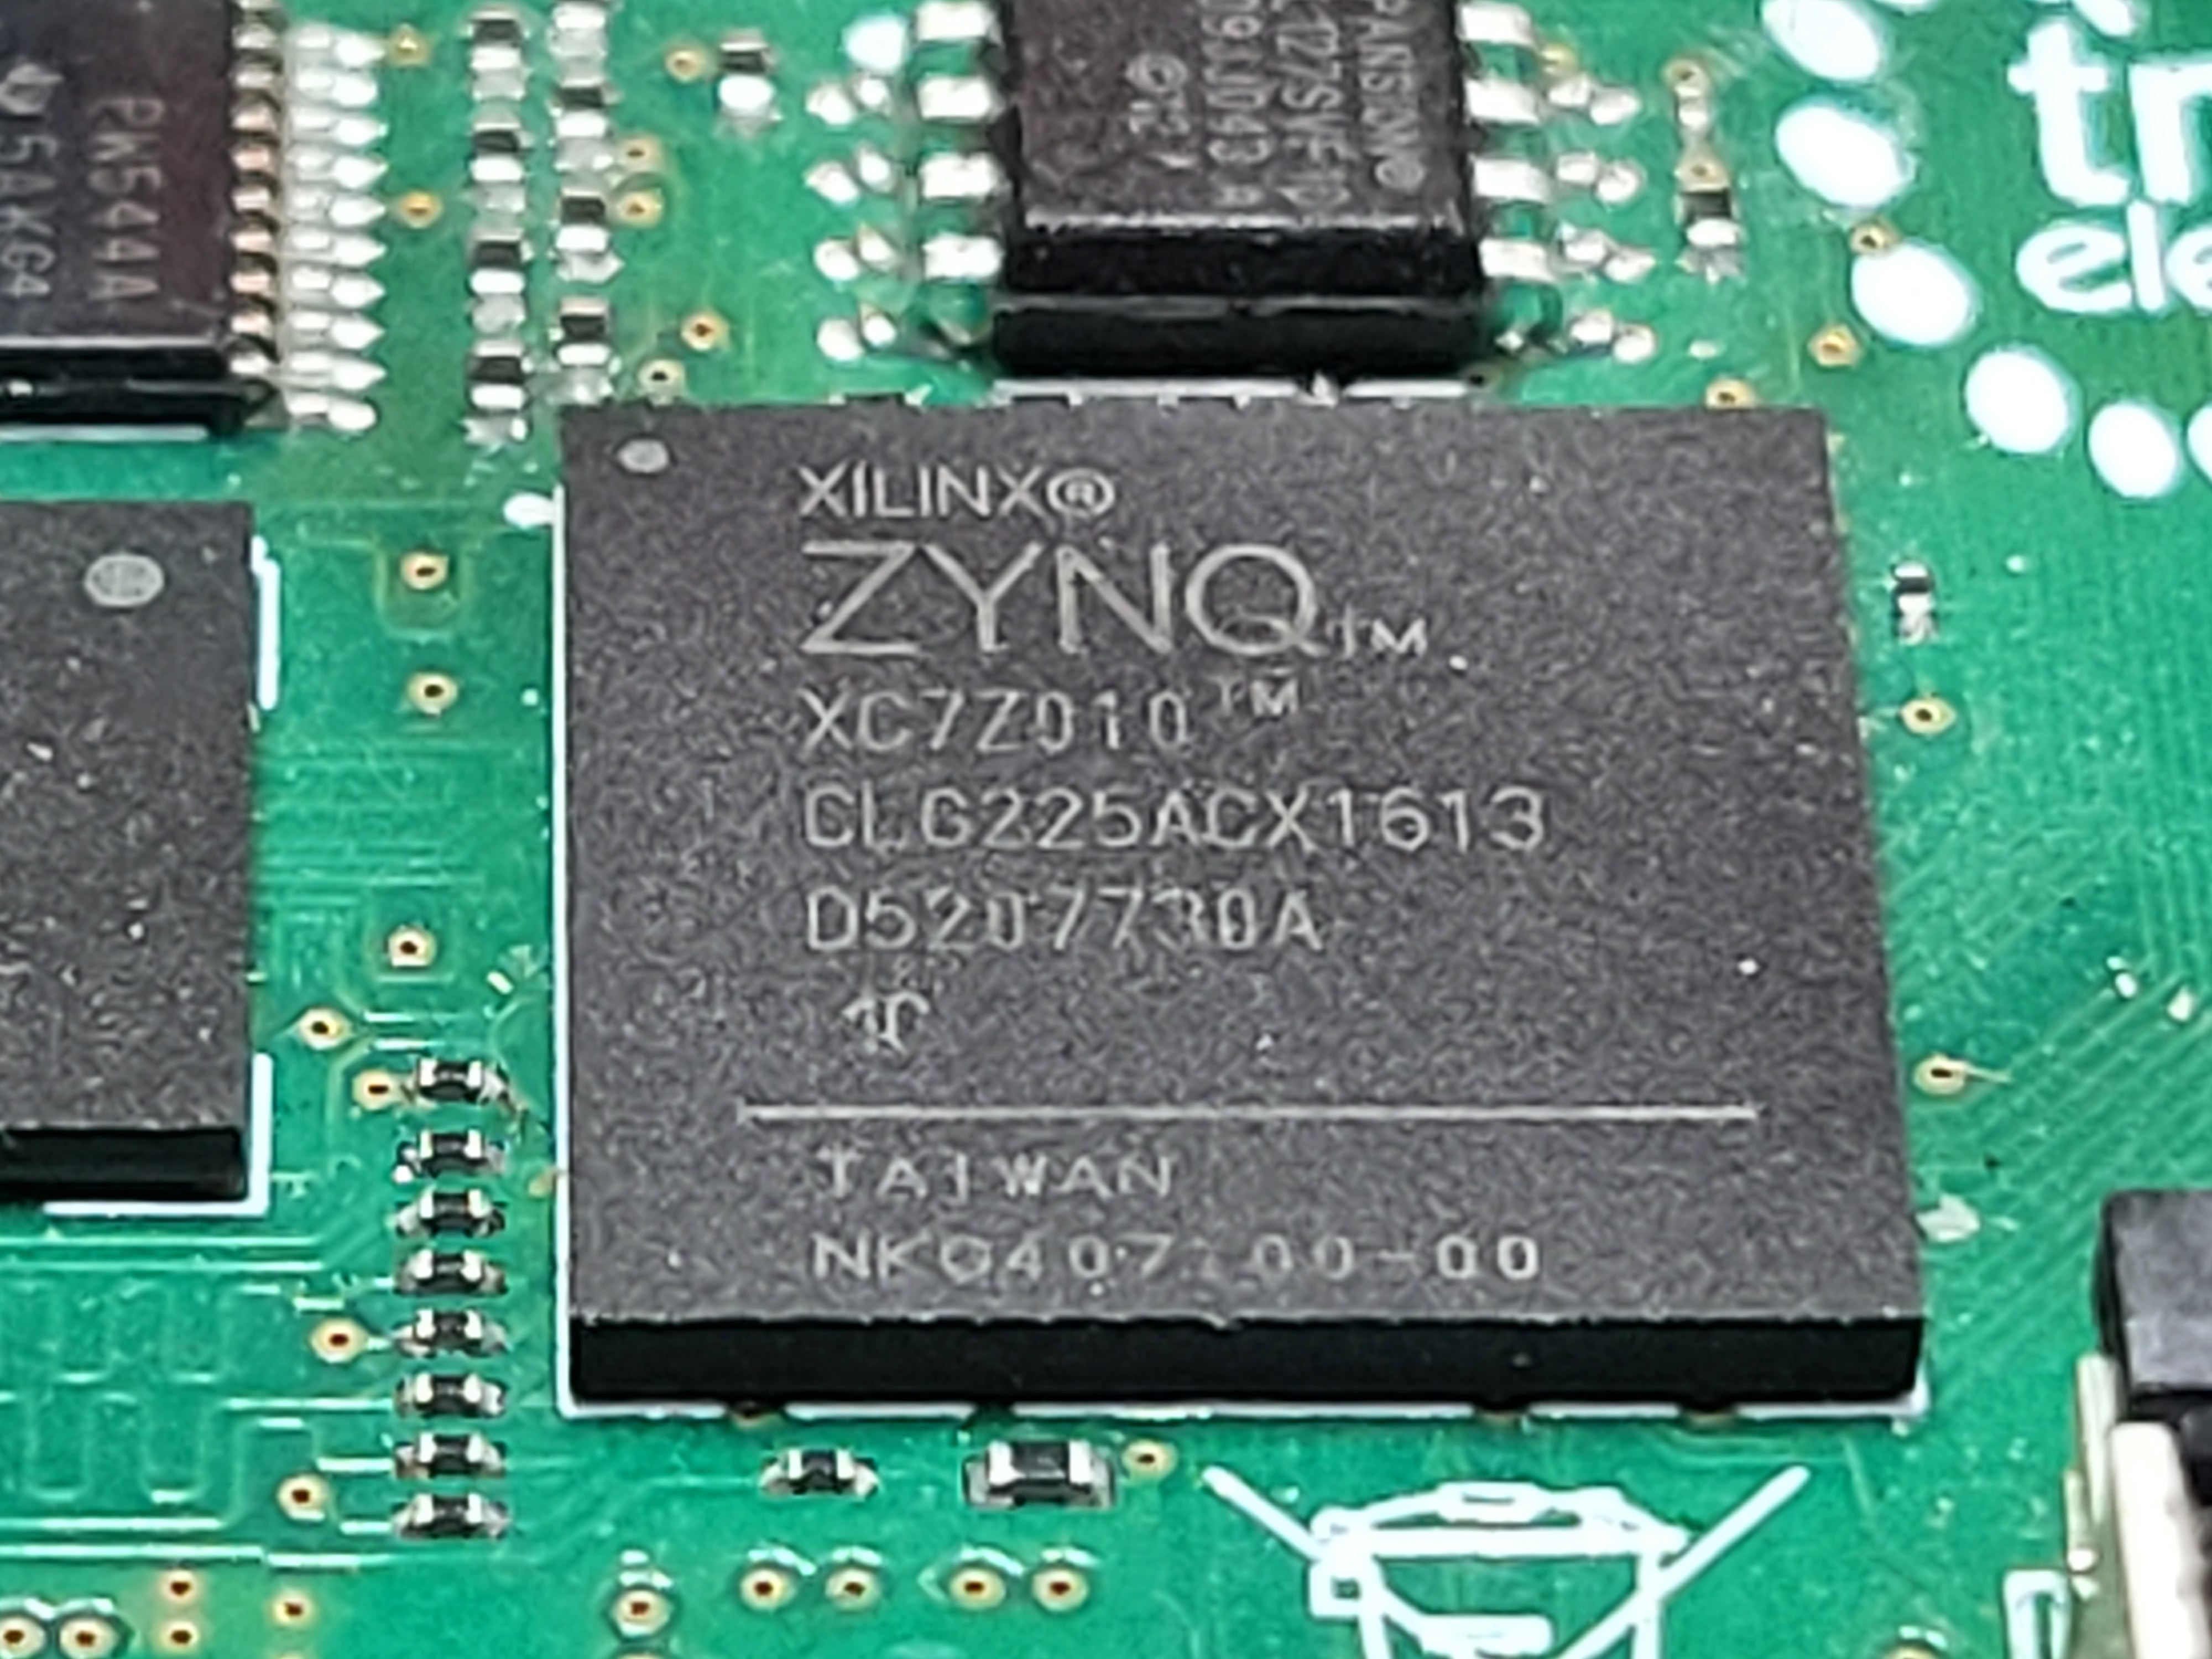
Getting Started on Zynq 7000
In the directory examples/zynq-7000 there is an example setup
for running LispBM on a Zynq 7000 platform (A9 32-bit processor) with FreeRTOS. This sets up a thread for running LispBM programs concurrently to the main application written in C.
Prerequisites and building instructions are available in the README.md file in the examples/zynq-7000 directory.
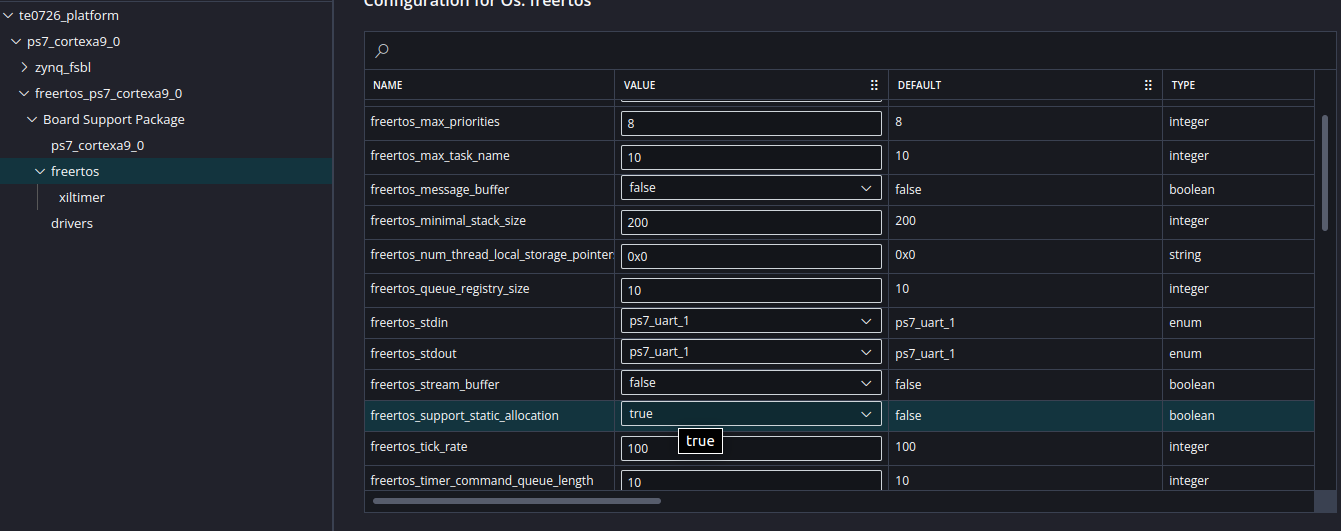
Here is how to find the freertos_support_static_allocation setting.
Getting Started on Zynq UltraScale+
In the directory examples/zynq-ultrascale there is an example setup
for running LispBM on a Zynq UltraScale+ platform (A53 64-bit processor) with FreeRTOS. This sets up a thread for running LispBM programs concurrently to the main application written in C.
Prerequisites and building instructions are available in the README.md file in the examples/zynq-ultrascale directory.
For help finding the freertos_support_static_allocation setting, see the Zynq 7000 section.
Roll Your Own LBM!
If you want to build your own lisp environment based on LispBM on top of ChibiOS, Zephyr, FreeRTOS or bare-metal then this is quite possible!
For a simple example using FreeRTOS/ChibiOS, look at Getting started on embedded: ESP32C3 and Getting started on embedded: STM32F4.
Another source for information on how to do LispBM and FreeRTOS, look at VESC EXPRESS. For ChibiOS integration look at the benchmark runner bench-chibi or for a more thorough integration VESC BLDC. Finally there is also the Linux REPL that one can look at for ideas.
Getting Started on Linux
Start by cloning the LispBM repository. Open a terminal and issue the command:
git clone https://github.com/svenssonjoel/lispBM.git
You should now have a directory called lispBM. Go into it and into the repl subdirectory.
cd lispBM
cd repl
Now, you have multiple choices on how to build the REPL. To build the 32-bit version (which is most similar to what you will run on a microcontroller), issue the make command.
make
If the make command above fails, it is most likely because there are some missing dependencies.
Building the 32-bit version of the REPL requires 32-bit libraries. If you are on an Ubuntu platform, you get 32-bit standard libraries by installing gcc-multilib.
In addition to gcc-multilib, the REPL requires libreadline and libpng. You need to get the 32-bit versions of these libraries. On Ubuntu, you can run the following commands:
sudo apt install gcc-multilib libreadline-dev:i386 libpng-dev:i386
If you were unable to install the 32-bit dependencies with the command above, you may need to instruct the package manager that you are interested in 32-bit packages as well:
sudo dpkg --add-architecture i386
Then retry the previous step to install the dependencies.
If installing the dependencies finished successfully, make should now work and the REPL executable should be built.
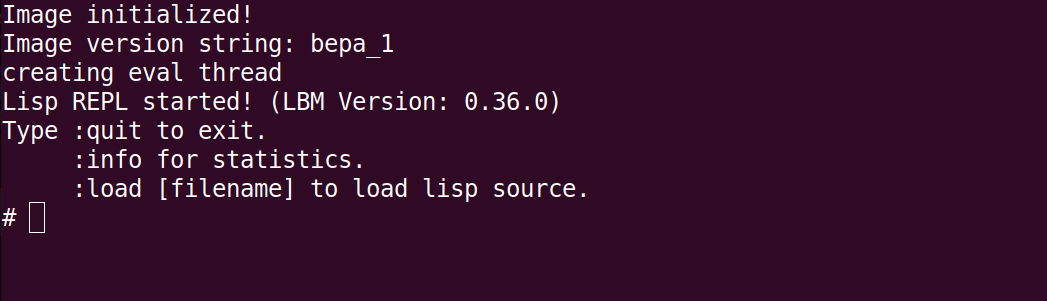
Start the REPL and explore!
./repl
You should now be greeted by the LispBM REPL in a way similar to what is shown below.
Lisp REPL started! (LBM Version: 0.27.1)
Type :quit to exit.
     :info for statistics.
     :load [filename] to load lisp source.
#
Try to evaluate some expressions. Type (+ 1 2) and press enter.
Lisp REPL started! (LBM Version: 0.27.1)
Type :quit to exit.
     :info for statistics.
     :load [filename] to load lisp source.
# (+ 1 2)
> 3
#
When you input code at the # prompt, LispBM answers on a new line starting with >.
Building 64-bit Version
Alternatively, the REPL can be built as a 64-bit binary. Building the 64-bit binary requires 64-bit versions of the readline and png libraries.
On Ubuntu, you get the dependencies by doing sudo apt install libreadline-dev libpng-dev. Then, to build the executable, you issue the following command:
make all64
Building with SDL Support
Lastly, the REPL can be built with SDL (Simple Directmedia Layer) for graphical output. This is done by issuing the following command:
make sdl64
Or for 32-bit:
make sdl
The REPL with SDL requires libsdl2-dev and libsdl2-image-dev libraries or
the 32-bit versions (for 32-bit REPL binary) libsdl2-dev:i386 and libsdl2-image-dev:i386.
Getting Started on Windows
There is a precompiled REPL for Windows here. This REPL is built using MINGW on a Linux machine and tested under WINE.
The following DLLs are required (some are included in the zip file):
- KERNEL32.dll, msvcrt.dll, WS2-32.dll (Windows system DLLs)
- SDL2.dll, SDL2-image.dll, libpng16-16.dll
- history5.dll, readline5.dll
- zlib1.dll
To run the REPL, execute lbm32.exe in console (cmd) or PowerShell. If there are errors involving VirtualAlloc, try to run as administrator.
Help with debugging and testing of the Windows version is much appreciated. If you want to help out with building and testing LBM on an actual Windows machine, let me know.